Get Salon-Quality Looks with Holographic Leaf Nail Stickers
Use these 16-piece holographic leaf nail stickers to achieve salon-style nail art at home with simple tools and pro application tips.
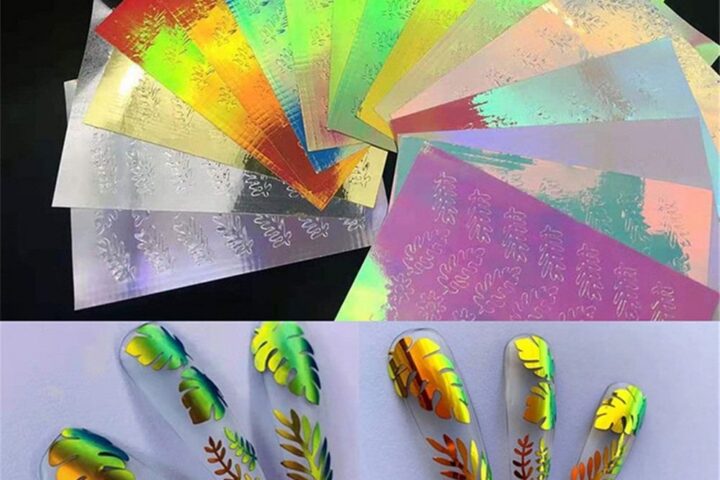
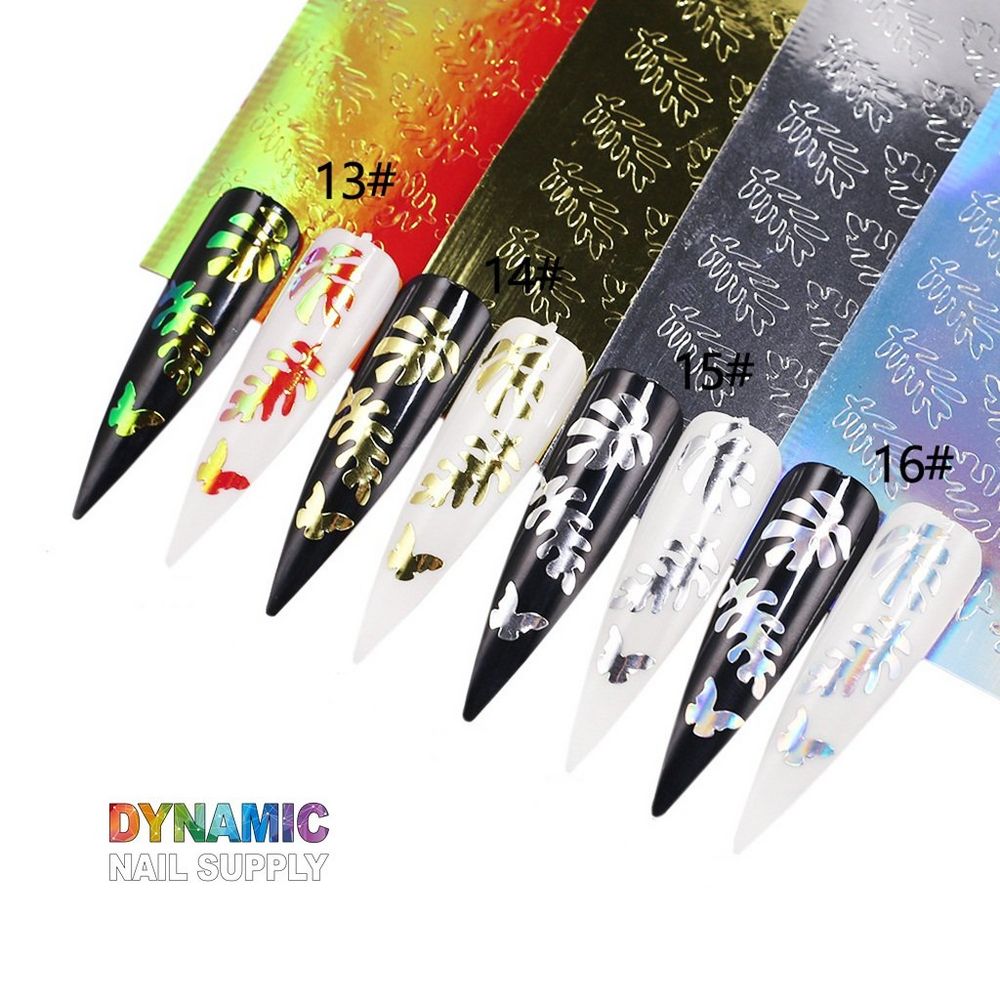
Holographic leaf nail stickers add instant interest to any manicure — no advanced skills required. These small, reflective leaf decals catch the light and work on gel, acrylic, and natural nails, making them a fast route to salon-worthy results.
What’s in the pack and why it matters
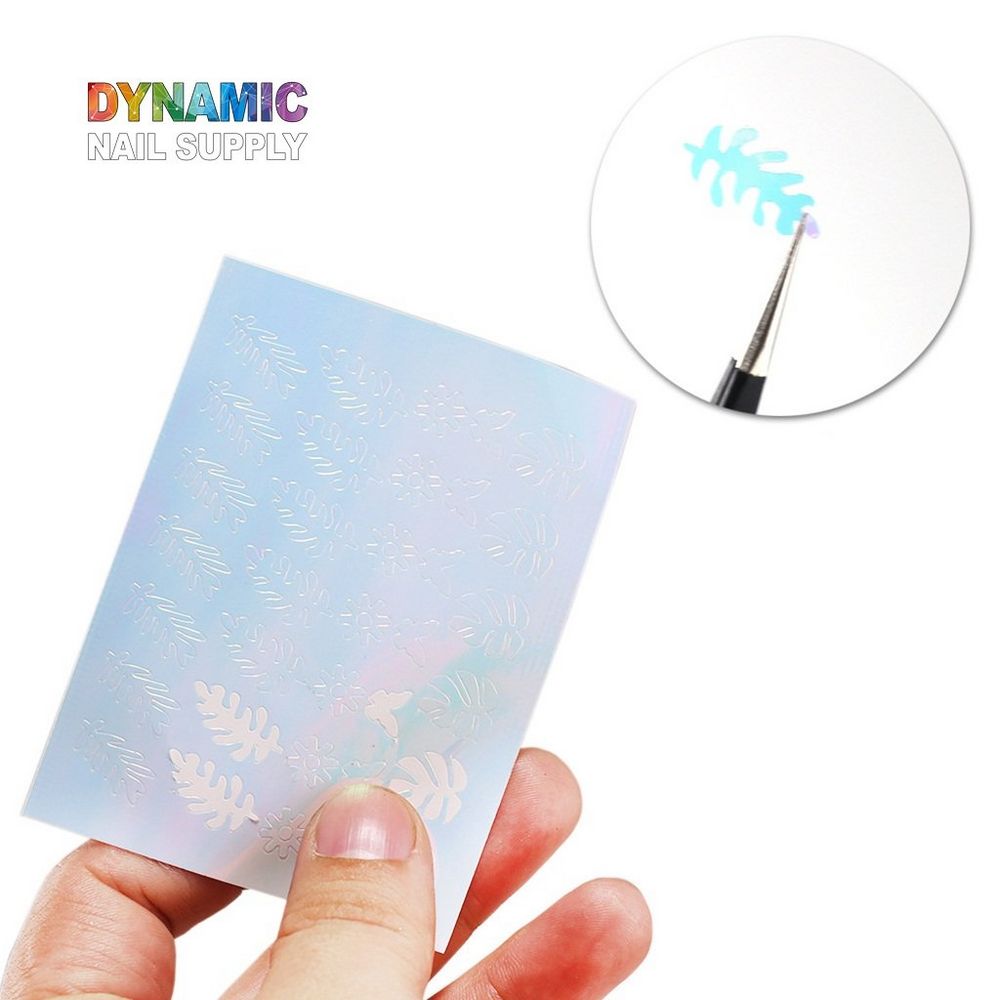
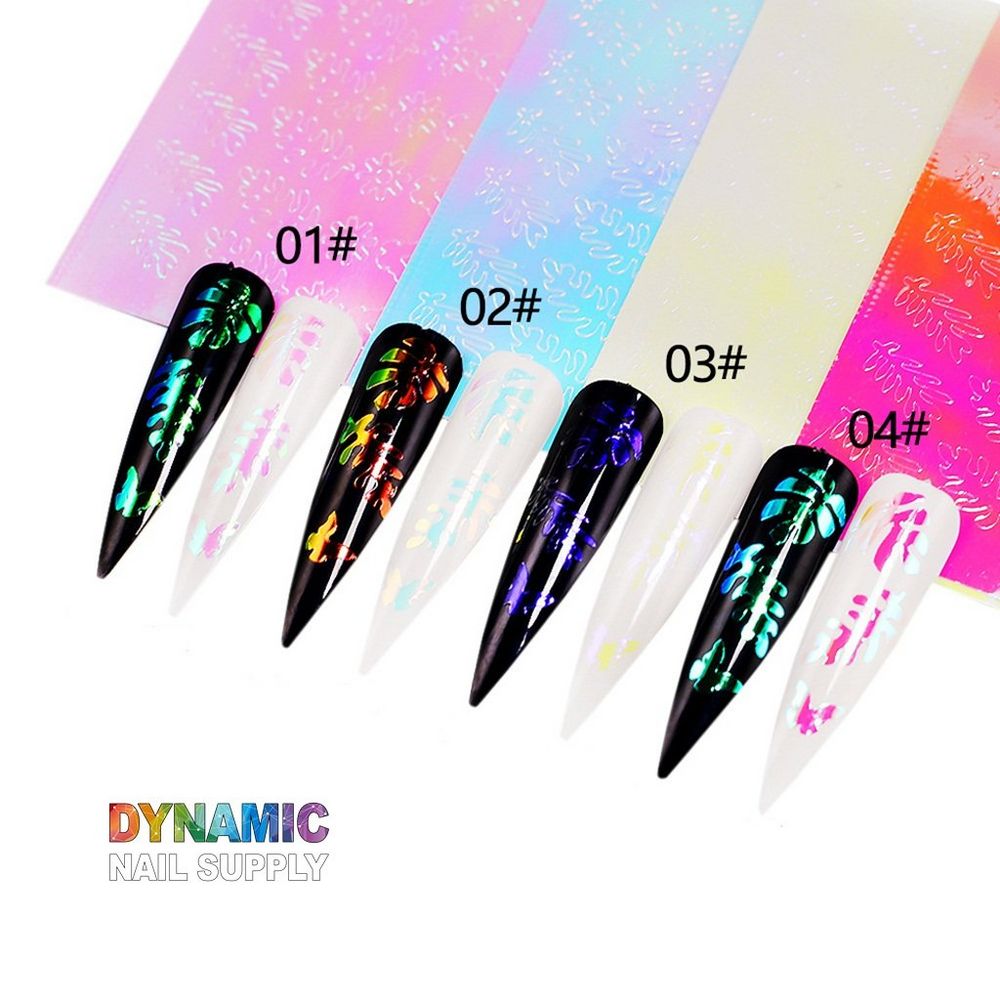
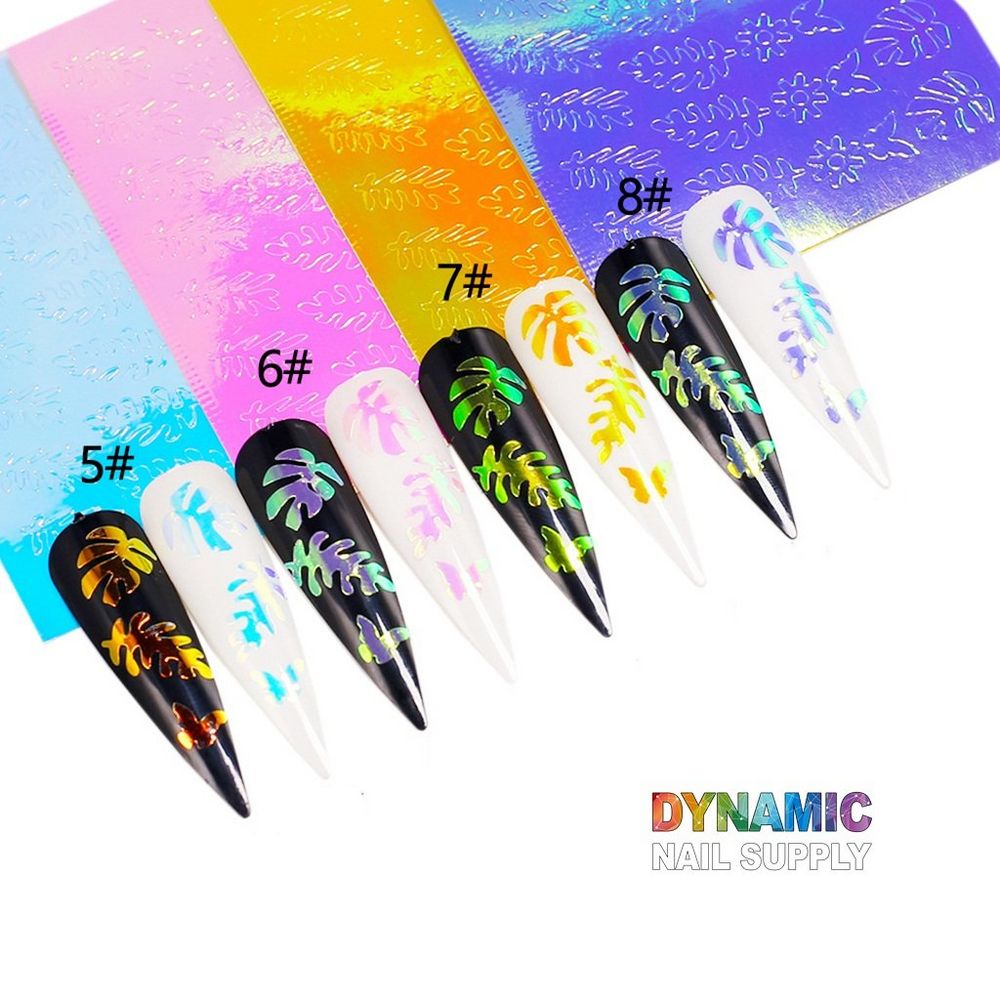
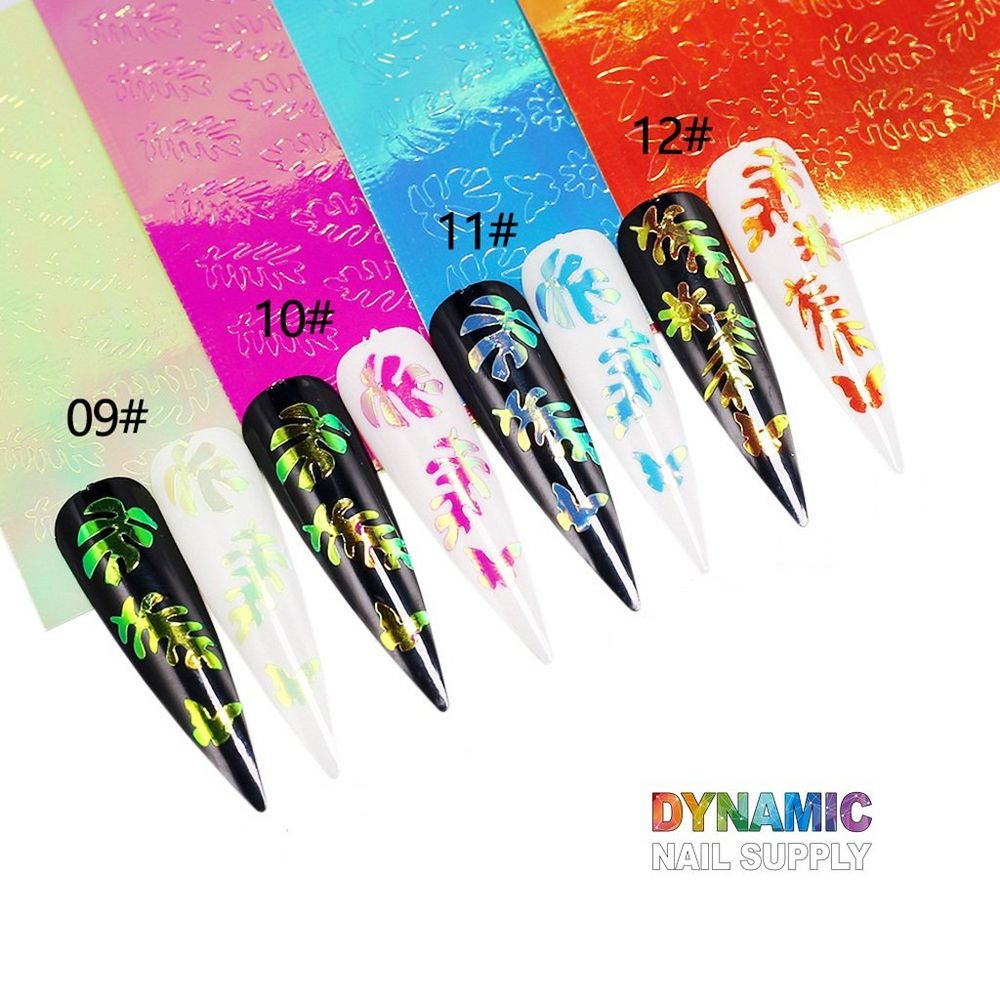
The set includes 16 pieces of holographic leaf-shaped nail stickers designed for nail art decoration. Every sheet gives you multiple placement options for accent nails or full-hand designs. At about $5.00 for the set, it’s an affordable way to try foil-like shine without special foiling supplies.
Tools and prep for pro results
Gather a few simple items before you start: nail file, buffer, base coat, top coat (or gel top finish and lamp if using gel), tweezers, and small scissors. Clean, dry nails give the best adhesion — remove oils with a lint-free wipe and isopropyl alcohol if you have it.
If you’re ready to try them, you can find the holographic leaf nail stickers set holographic leaf nail stickers set. Dynamic Nail Supply carries this style as a practical new-arrival option for salons and at-home artists.
Step-by-step: applying holographic leaf stickers like a pro
- Shape and buff: File nails to your desired shape and lightly buff the surface to remove shine. This helps the sticker lay flat and stick longer.
- Base coat: Apply a thin, even base coat and let it dry (or cure if using gel). A smooth base prevents lifting and improves longevity.
- Plan placement: Arrange the leaves on the nail with tweezers before committing. Think about scale — larger leaves look great on longer nails or as a focal accent.
- Apply the sticker: Peel a single leaf from the backing and position it on the nail. Gently press from center to edges to avoid bubbles.
- Trim excess: If the sticker extends past the free edge, trim or file it away carefully using small scissors or an emery board.
- Seal the design: Finish with two thin layers of top coat, sealing around edges. For gel systems, apply gel top coat and cure according to the product instructions.
Design ideas and placement tips
- Accent nail: Keep nine nails simple and place a single holographic leaf on the ring or index finger for an elegant pop.
- Negative space: Use the sticker across a clear or French base to create a modern, airy composition.
- Clustered look: Group two or three small leaves near the cuticle for a botanical bouquet effect.
- Mix and match: Combine the holographic leaves with glitter or solid-color decals to balance shine and texture.
Finishing touches for longer wear
Thin, even top coat layers are key: thick coats can lift stickers or cause wrinkling. When sealing, brush the top coat over the free edge as well as the sticker surface to lock everything in place. If you use gel top coats, remember to cure fully under your LED/UV lamp for a hard, chip-resistant finish.
Who should use these stickers?
These holographic leaf nail stickers are ideal for nail technicians seeking a quick seasonal accent and for DIY nail artists who want salon polish without long training. The 16-piece count gives salon pros multiple repeats per set, while home users get enough decals to experiment with placement and layering.
Care, removal and safety notes
- Care: Avoid heavy scrubbing and prolonged soaking to maximize wear time. Reapply top coat every few days if you notice edge lift.
- Removal: Gently lift an edge with tweezers and peel slowly; if resin or adhesive remains, remove with an acetone-based remover following safe ventilation practices.
- Safety: These are decorative nail stickers; keep away from eyes and mucous membranes. If irritation occurs, discontinue use and consult a professional. Store the sheet flat and away from heat to preserve adhesion.
Whether you’re updating your salon menu or crafting a standout at-home mani, holographic leaf nail stickers deliver dramatic shine with minimal fuss. With a little prep and the right finishing steps, you can achieve polished, professional results every time.